Winter season is officially in full force here in NJ! We have gotten about 18 inches of snow over the past week, and let’s just say it’s not ideal conditions for taking pictures of my kids outside.
With Christmas only days away, we have had so many holiday outfits that I have loved dressing the kids in! With it being so cold outside, though, the smiles turned more into grimaces. There’s only so much bribing one can do before it’s time to call it quits and just take the pictures inside!

I have had a number of people reach out to me asking for my indoor photography set up, so I wanted to share some tips on how to get clean, crisp, bright indoor photos.
Tip 1 – Find your largest window.
We have a large window in our living room / play room, and I knew it would be the best way to still get some great natural light inside. So find the brightest room in your house with the largest window, and then proceed to tip 2.
Tip 2 – Find a clean, neutral background near that window.
If your walls are darker or a bright vivid color, you can always grab a white panel from Home Depot or Lowes. That is actually what I use (even though I have neutral walls) because I think it gives a cleaner look to have a bright white. It really makes the photos pop. Here is my set up (taken from my phone)

Here ya go – real life, folks. A broken plastic cup and a bag clip made their way into the pic, courtesy of Charlie. Also, note the gorgeous crayon and marker spots on the panel, which I now have to photoshop out of every photo. Thanks a lot, Matty.
Anyway, so there you have it. A pretty simple set up, right? Just a panel and a large window. Now on to the gear.

Tip 3 – Invest in an off camera flash
I really love bright photos, and unless you don’t mind a lot of grain in your photos, you’ll need an off camera flash. Without the flash you will have to increase your ISO or save the photo in Lightroom (or wherever you edit) by increasing the exposure. It will deteriorate the quality, and the grain and noise will be noticeable.
I shoot with a Nikon D750, so I grabbed a few Nikon SB-700 AF Speedlights. The great thing is that they can attach to the top of your camera or you can put them on a stand elsewhere and have them fire remotely. I don’t mind for simplicity just sticking it on top of my camera. Once it’s secured and locked in, I point the flash towards the ceiling – not at the subjects. By pointing it at the ceiling, it will bounce the white light from the ceiling back down and it also softens the light significantly. If you point it right at the subjects you will end up with dark shadows behind them, which isn’t ideal.

Tip 4 – Camera settings
Here’s the biggest question I get by far – what are your camera settings? This is going to depend on a number of thing, but I’m happy to write in generalities. It’s going to depend on the time of day/weather, size of your window, amount of light entering your room, how close your setup is to the window, etc. But generally speaking, I follow the same system.
- First, I set my aperture. Since I’m photographing my kids one at a time, I keep it around 2.4-2.8. It’s my sweet spot for still getting the blurry background but keeping their whole face in focus.
- Second, I set my shutter speed – since I have an off camera flash attached, you should NOT go higher than 1/200. The shutter will likely not sync properly with the flash. Outside I consistently crank my SS up to 1/1000+, but with a flash on, it can’t go higher than 1/200
- Third, I set my flash setting – I don’t want a TON of artificial light, because it looks, well, artificial. The more natural light I have, the better. So I start at 1/32 for the flash. If I have to increase it to 1/16 after a few test shots, I will.
- Lastly, I set my ISO – To start, I see how the meter/exposure looks at 600 – again it really depends how much light I have coming in through the window. I adjust the ISO until I have the exposure that looks best to me.

Tip 5 – Edit in Lightroom
My typical workflow goes something like this:
- Lens Corrections
- CHECK enable profile corrections
- Basic
- Increase: Contrast, Shadows, Whites
- Lower: Highlights, Blacks
- Tone Curve
- Increase: Lights, Darks
- Lower: Highlights, Shadows
- HSL/Color
- Increase: Orange and Yellow Luminance
- Lower Significantly: Yellow Saturation
- Detail
- Increase: Noise Reduction Luminance
Then, I assess the exposure and adjust accordingly. Lastly I adjust white balance to ensure the whites look white!
Here are some before and afters!

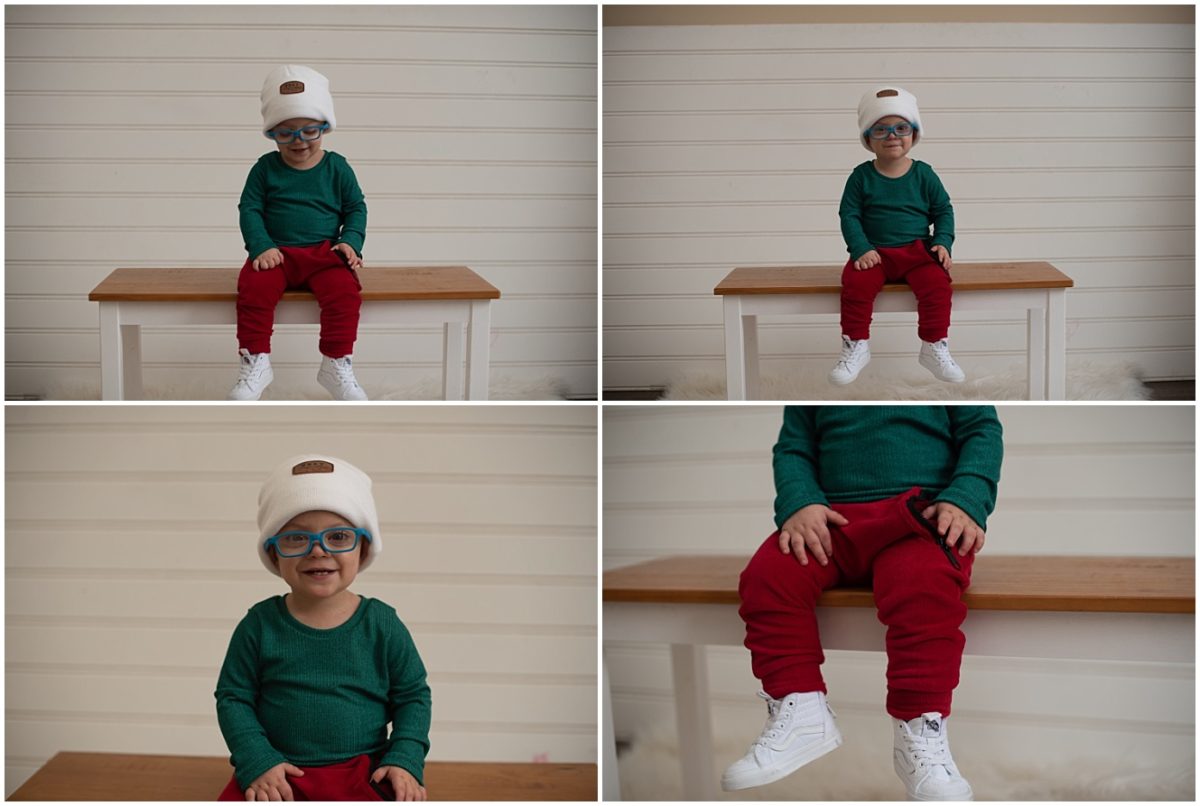

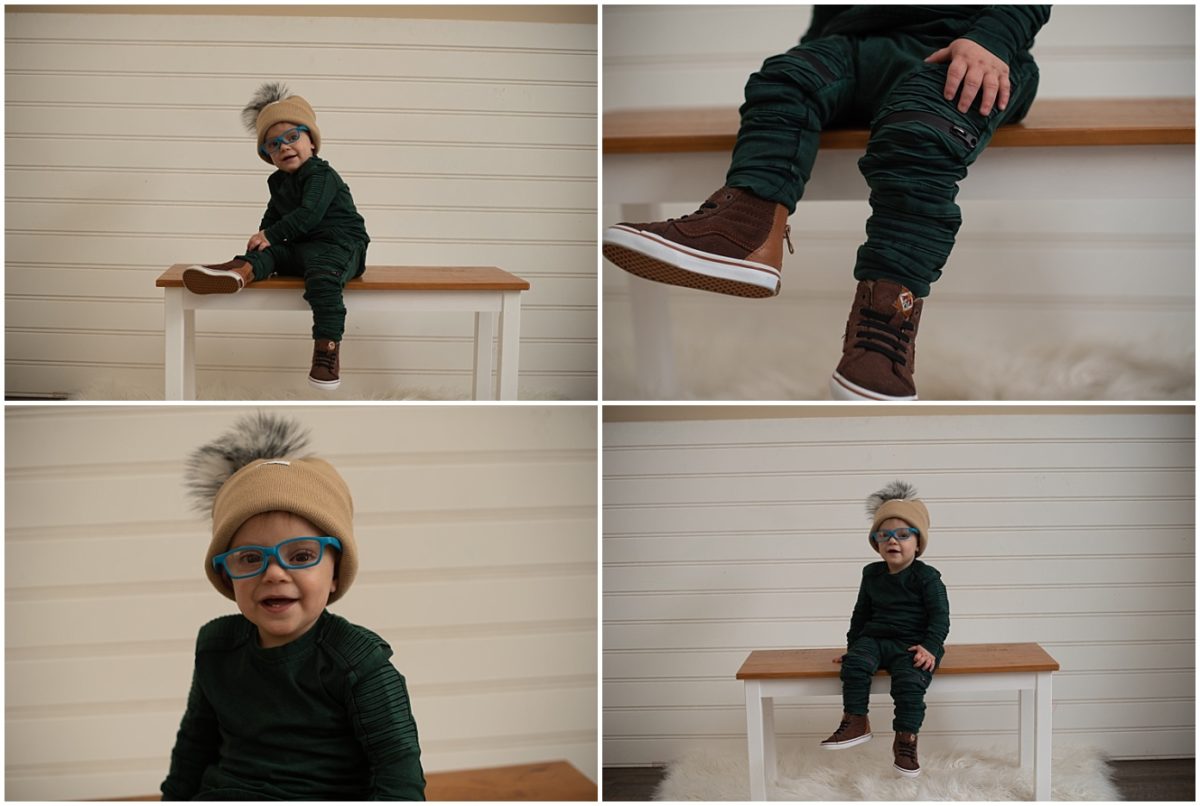

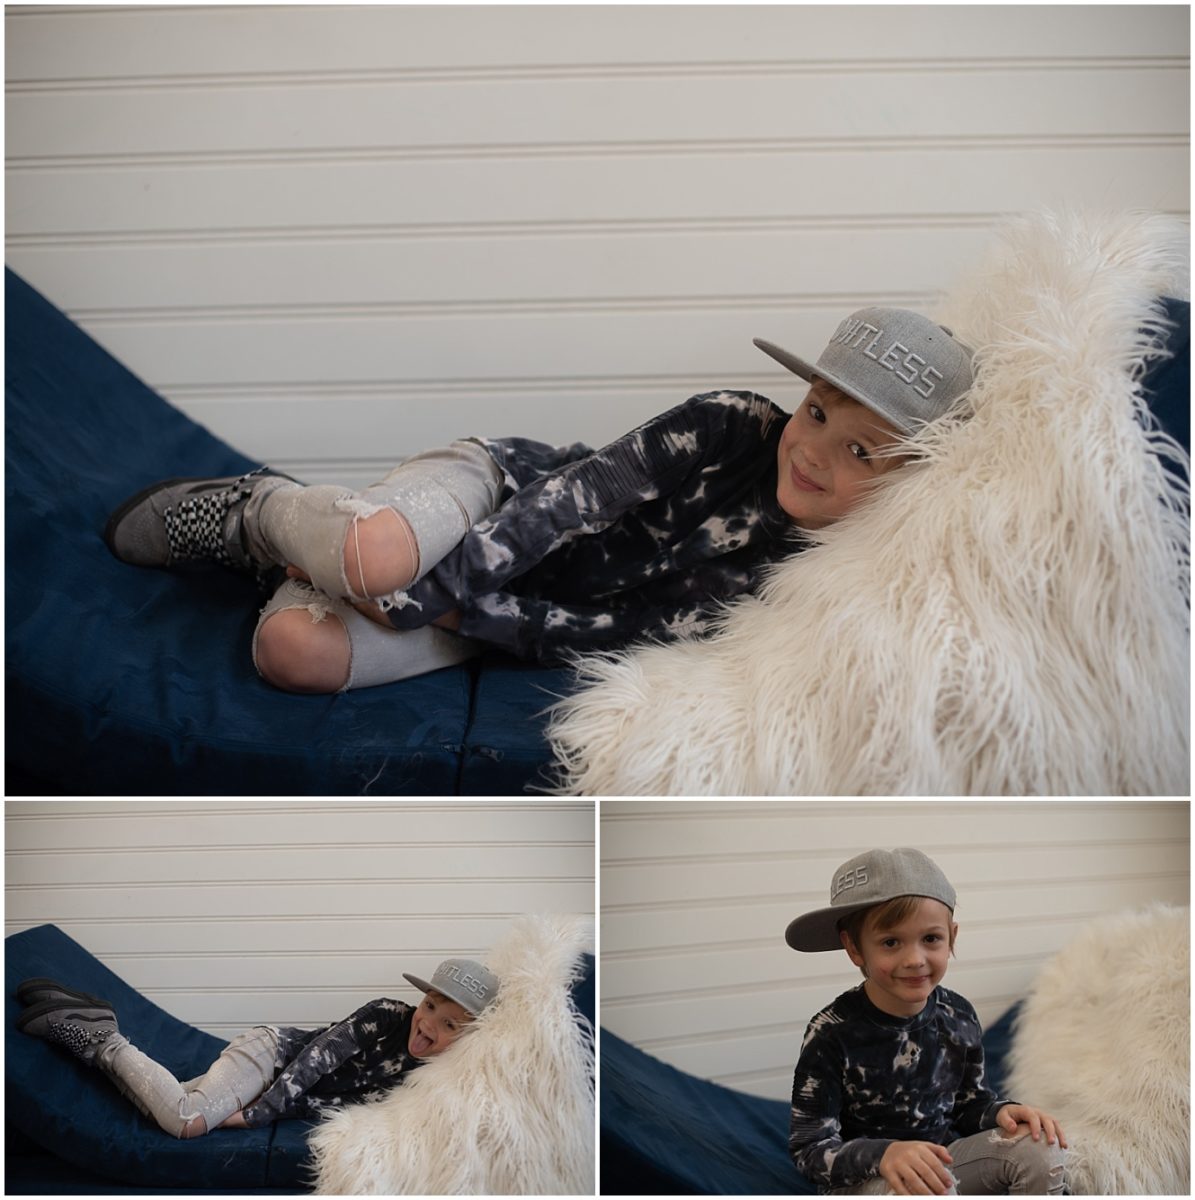

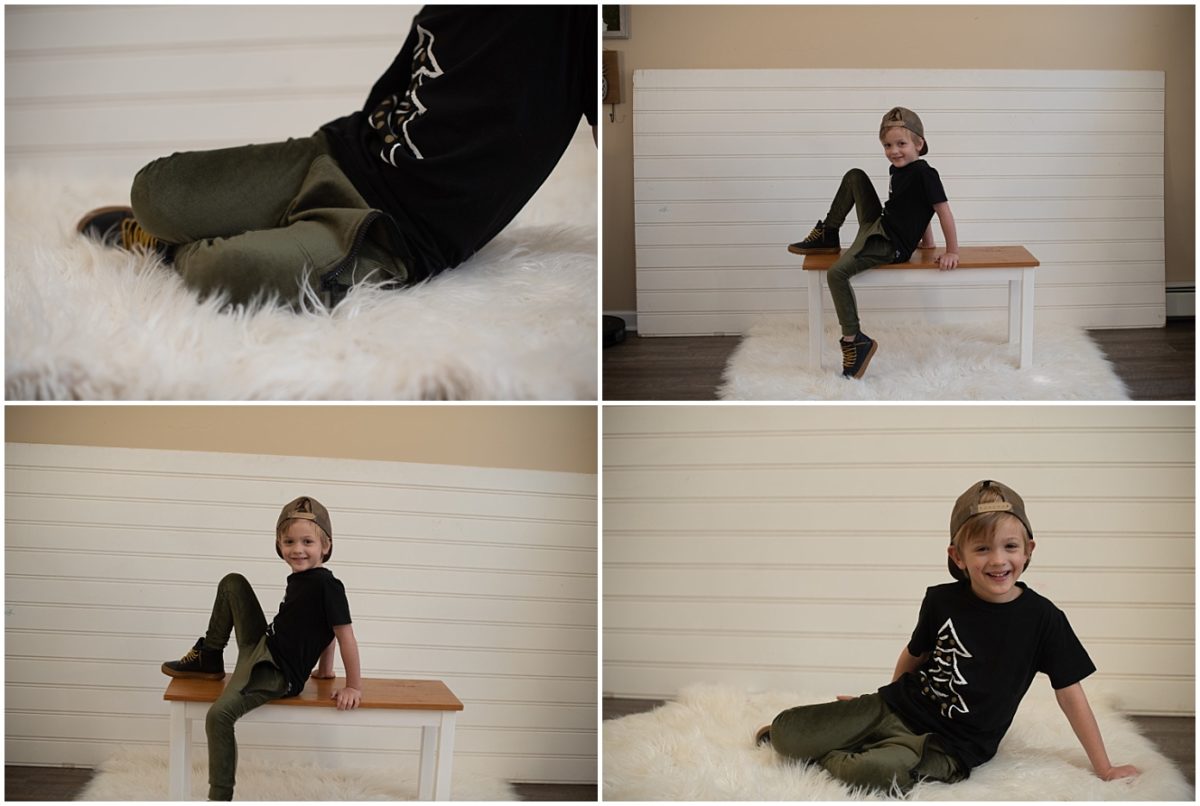

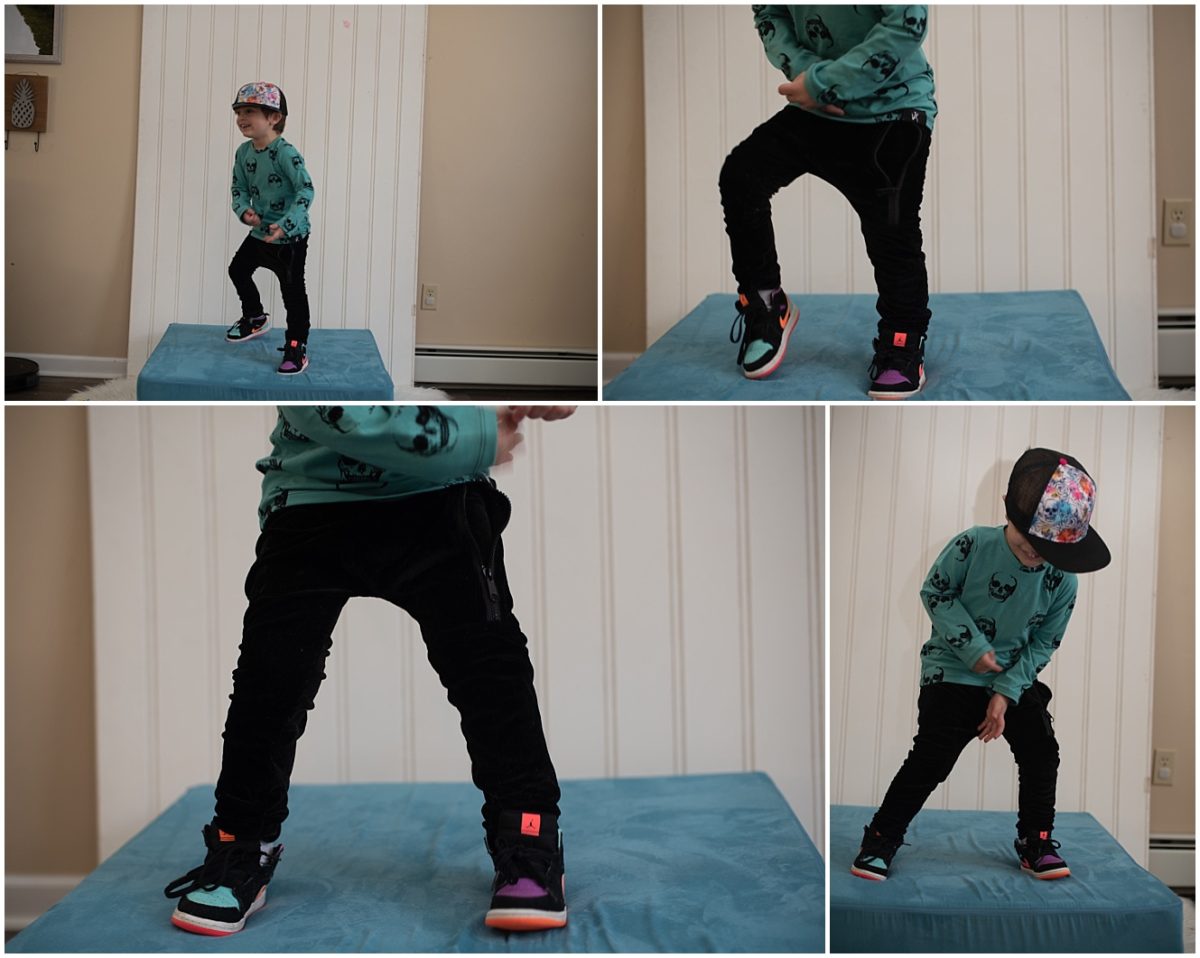


This last set of Andy jumping on the bed was actually taken at night – so in this case I made sure I increased the flash to 1/16, and I’m sure my ISO was a bit higher (1000+).
I hope you found these tips helpful, and happy winter!
xo Nikki
comments